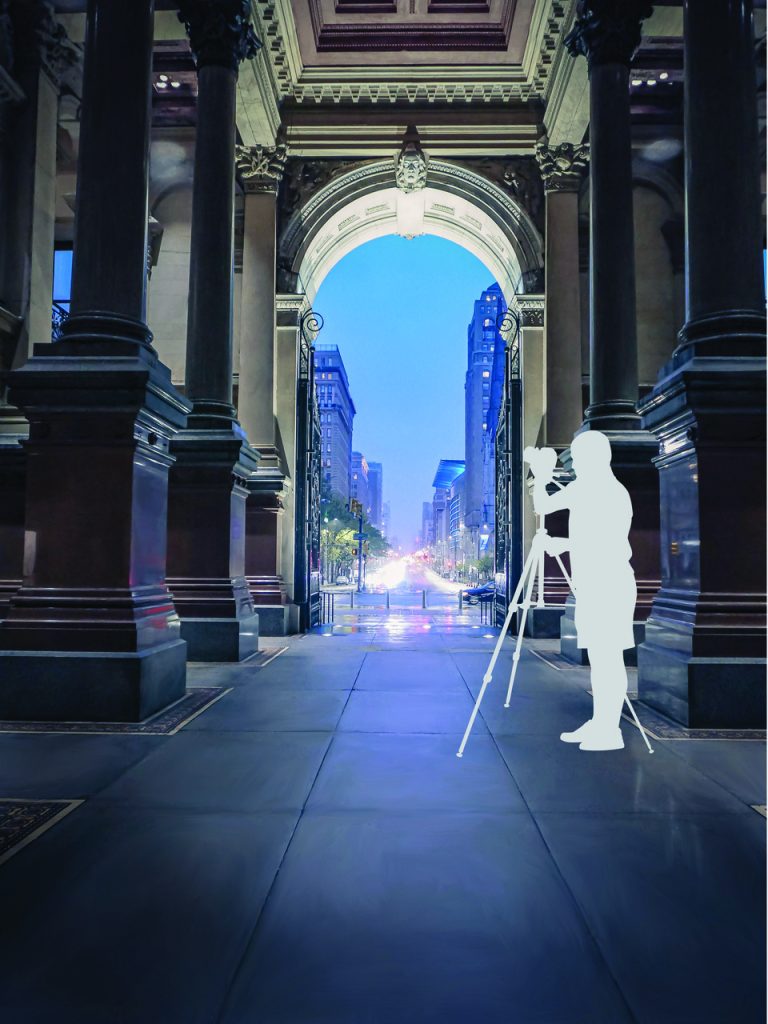
The elements of a great architectural lighting photo
How many times have you tried to explain your profession to friends, family or a potential client? As a lighting professional, it can certainly be a challenge. Ours is a niche industry that flies under most people’s radar and is usually overshadowed by the more widely recognized architecture and construction industries. The lack of public awareness could be due to the nature of light itself—it’s intangible, ephemeral and constantly changing. It’s one of the universe’s oldest and most familiar natural phenomena, but also one of the most advanced technologies we have access to today. It’s science and art. So how do you explain what you do, and the value you create for others, when you work in an abstract medium? This is why, 15 years ago, I decided I needed to teach myself about photography. (And it’s a decision I’m still happy with to this day.)
Delving into the world of photography unlocked a new level of understanding and appreciation for lighting. While I had built up years of experience experimenting with light in theater settings, I had to unwind a lot of preconceived notions and previously learned lessons to apply the same lighting experience to photography. Through years of trial and error, I learned how to think about lighting like a photographer as well as a lighting designer and built up a portfolio of images that I’m proud to share.
I’ve developed a set of principles that guide me whenever I’m on a photoshoot for an architectural lighting design project, which I’m sharing here for those who have an interest in improving their photography. Notice that I’m not recommending specific cameras or expensive purchases—these principles apply whether you are using a phone, digital camera or anything in between. While there is a lot to learn about photography from a technical standpoint, I think the easiest way to improve your photography is by understanding both the conceptual “why” and the technical “how.” Why take photos of a lighting design in the first place? What is the end goal of taking the photos? Anyone can pick up a camera and start snapping away, but I encourage you to put as much thought and intention into your photos as you do your lighting work. It only takes a little extra planning to go from an average photo to one that is great. The four elements that make a great architectural lighting photo are story, lighting, staging and composition.
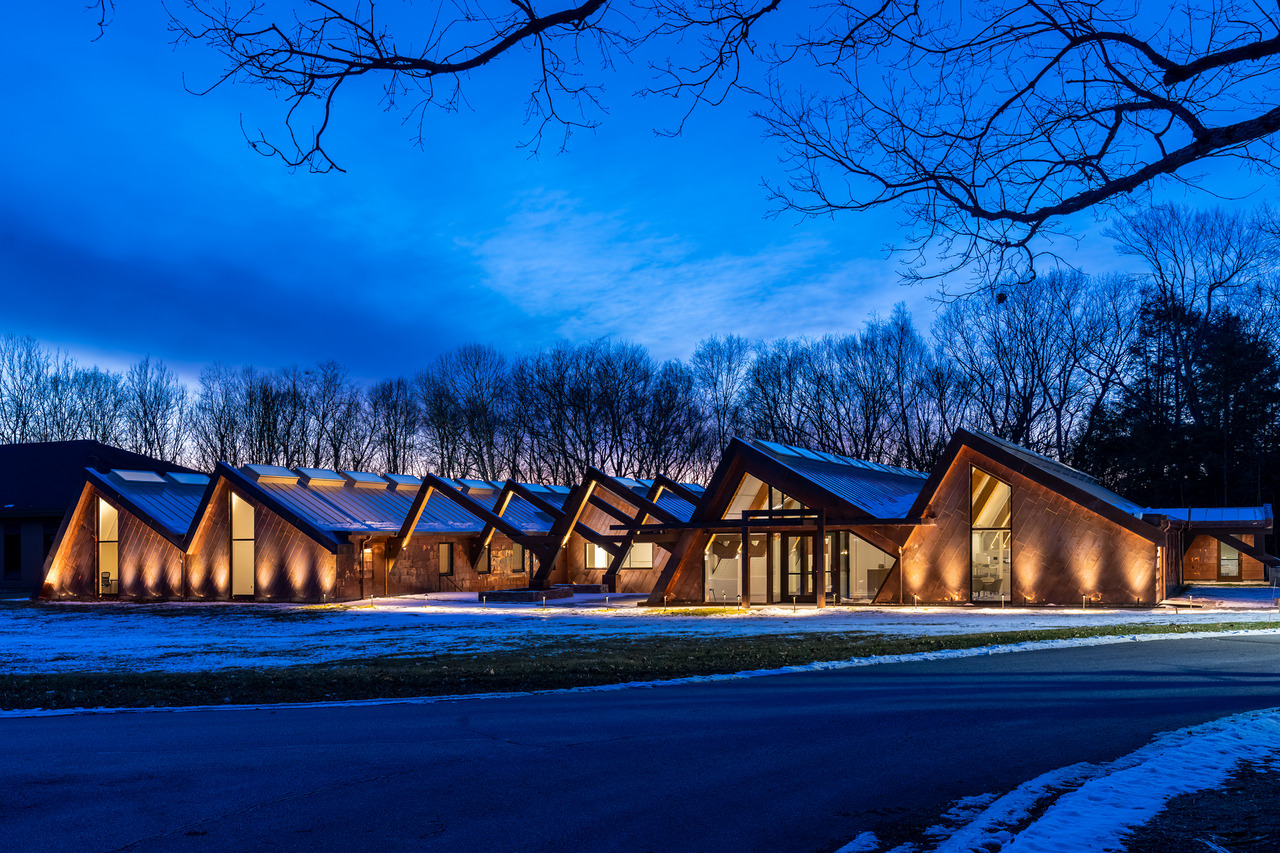
Every project has a unique story behind it, and it’s your job as the photographer to help tell it for the people who can’t see it in person. Every decision you make has a direct impact on the viewer’s understanding of the project and lighting design. That’s why I always schedule a planning meeting ahead of the photoshoot with the designers of the project to gather as much information about that story as possible before I even set foot on site. I ask them to explain their design concept, lighting strategies and fixtures, challenges they overcame and the parts of the project that make them proud. Then, we walk through the space and discuss the major views and lighting elements. When you’re thinking about the story of your project, here are some questions to consider to set yourself up for the best photoshoot:
1. WHAT INFORMATION ARE WE REVEALING ABOUT THE LIGHTING DESIGN OR PROJECT BY TAKING THIS PHOTO?
Location or Context
- Where is the project located? (What part of the world is it in? What makes the location unique or identifiable?)
- What are the surroundings? (Are there neighboring buildings or is it surrounded by nature?)
- What are the important views? (How will most people see the project? Are there any unique angles worth exploring for additional interest?)
- Is the orientation of the project significant to the design?
- How big is the project? (How can the viewer understand the scale? Should people be in the photos?)
Project Typology
- Is this a familiar project typology (residence, restaurant, hotel, etc.) where viewers will expect to see photos of certain spaces?
- Is this an unusual project typology where the viewer needs to be guided through the project to explain its unique design? (Mixed-use spaces, themed environments, art installations, etc.)
- Is this a new-construction project or a renovation? Can you take “before” and “after” photos?
Project Experience
- How would viewers experience the space if they walked through it in person?
- Is the progression of space tightly choreographed and designed, or is it open and exploratory? How does the lighting impact this progression?
Lighting Design Concept
- What are the lighting treatments and how do they enhance the project design concept?
Project Impact
- How do end users interact with the project?
- Does the lighting create opportunities for specific uses of the space?
- If a renovation, how does the lighting improve the mood, use, flexibility or appearance?
WHAT INFORMATION ARE WE LEAVING OUT BY TAKING THIS PHOTO?
- Are certain parts of the project unfinished?
- Are there elements that did not turn out as expected, or visual obstacles that should be avoided?
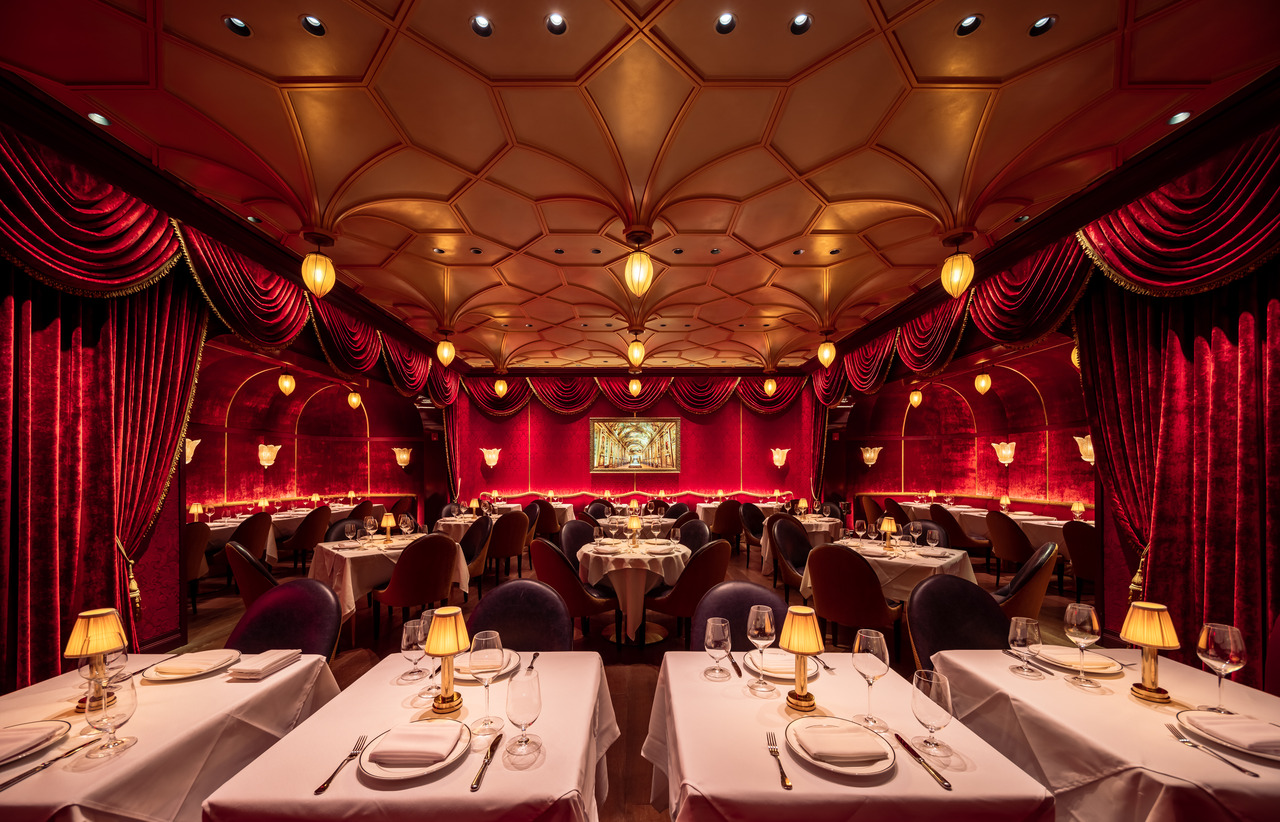
Staging the scene is an effort to help your photos look more polished. Take a few moments to look around your space before you take a photo, and consider these minor adjustments:
Natural Lighting
- Consider the best time of day—this is especially important if there is any exposure to natural lighting (i.e., windows, skylights, exterior projects).
- A nighttime (after dusk) photoshoot may be the obvious choice for a lighting design project, however, consider if exterior views or the sky are an important part of the project. For a façade- or landscape-based lighting project, photographing against a pitch-black sky may appear too dramatic. Consider taking photos earlier in the evening—sunset into twilight—to capture more color and visual interest in the sky as a frame.
- For interior projects with windows, skylights or other glazing, pitch-black night may not be the ideal background to capture the lighting design either. At night, windows turn into the equivalent of mirrors.
- In interiors and exteriors, if daylighting, or the transition from day to night, plays an important role in your design, consider taking photos from the same position during the day to create side-by-side comparison looks. (I often bring a roll of painter’s tape to mark tripod positions on the floor so I can revisit them later.)
- While sunset may make for a stellar photo visually, taking photos during a spectacularly vivid sunset may work against your end goal by distracting from the lighting design itself. Muted or pastel sunsets may work best in your favor by providing some color in the sky while balancing the focus on the lighting design. For interiors, if dramatic sun streaks are important to the design of the project, include that in your photos. If not, consider less-distracting conditions.
- Plan ahead. If certain weather conditions are important to the photos, ensure you have a backup plan. A pre-arranged rain-date can make all the difference between successful or unusable photo sets.
Dimming and Other Variable Lighting
- If you have a programmable lighting control system, consider what scenes you want to use to best showcase the lighting depending on the aforementioned natural lighting.
- The scene that looks the best in person may not be the best for photography. Camera sensors are not as sensitive as the human eye, so they cannot capture the full depth of lighting conditions between deep shadows and bright light sources.
- If your design contains variable-white or color-tunable lighting that is programmed to many scenes, prepare for a lot of extra time during the photoshoot. Using a photo assistant to trigger the lighting scenes while you focus on taking the photos will shorten the process dramatically.
- It is always easier to take photos of multiple lighting scenes from one position, and then move the camera, than it is to constantly move the camera to capture all of the angles. In the example of a nightclub, take photos of the “happy hour,” “dinner” and “club” scenes from one position, then move to the second position and take the same series again.
- You may not have enough time to capture the entire variety of lighting scenes that were programmed for the project, and that’s okay.
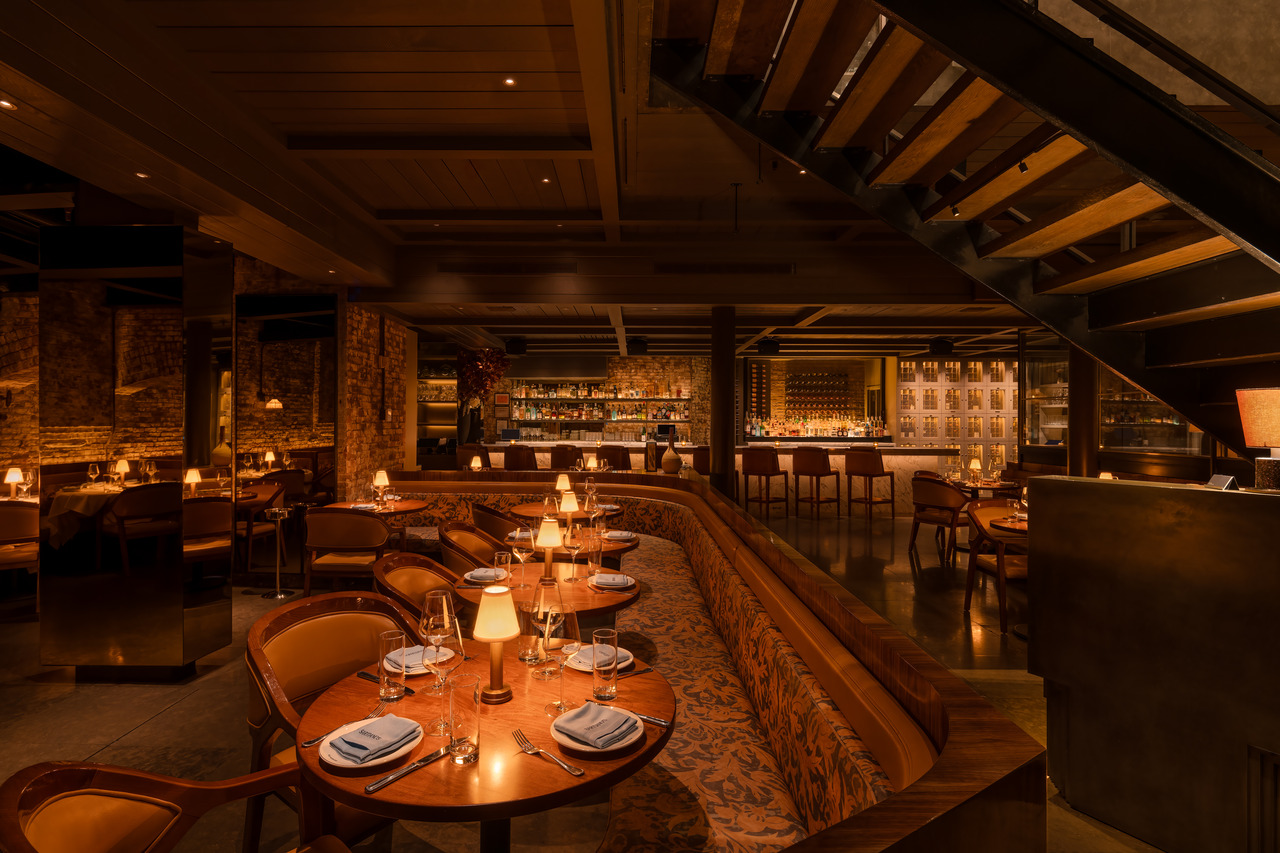
Lighting should be the easiest part of a lighting design project photo. Lighting can often make or break a photo, depending on how well it catches the viewer’s eye. It is one of the strongest compositional elements to consider; ensuring that the project is well-lit is only the first step of the equation. The next step is to determine the best lighting conditions to capture your project, considering two factors: lighting out of your control (natural) and lighting within your control (the design).
Interiors
- Make sure your space is clean and presentable. Watch out for visible personal belongings, trash, desk clutter, kitchen paraphernalia, queue stanchions, “wet floor” signs, cleaning equipment, ladders, etc.
- Avoid photographing empty tables or counters; make sure there is décor or place settings to make the space look realistic. Request these ahead of the photoshoot so the staff can prepare them.
- Check for reflections in glass, mirrors and polished surfaces, even if they are in the distance.
- Light from exit signs can throw an unnatural color cast across ceilings and walls, especially if white. Emergency lighting is always distraction in a photo and best to leave outside the frame. If you can’t, consider temporarily covering them with a thick piece of paper, trash bag or foam board. The goal is to eliminate the light spill into your scene, not necessarily hide them altogether.
Exteriors
- Again, make sure your view is clean and presentable—maintenance equipment, hoses, trash cans, stray food, dead sticks, etc.—should be removed from the scene.
- Check your camera’s view for any stray building lights, floodlights or streetlights that are pointing straight toward the camera lens—these can produce undesirable flares that can be hard to notice until photos are viewed on larger screens. Bring a few small pieces of black foam core to block stray light beams from hitting the camera lens from above or the sides.
- In a public place? Consider whether you want people to appear in your photos. If they improve the context or composition of the photo, try including them. Remember, the goal shouldn’t be to feature recognizable people. To avoid capturing people’s faces, use a slower shutter speed when taking the photo to introduce “motion blur” as they walk past the camera. Alternatively, you can digitally blur the people later with editing software.
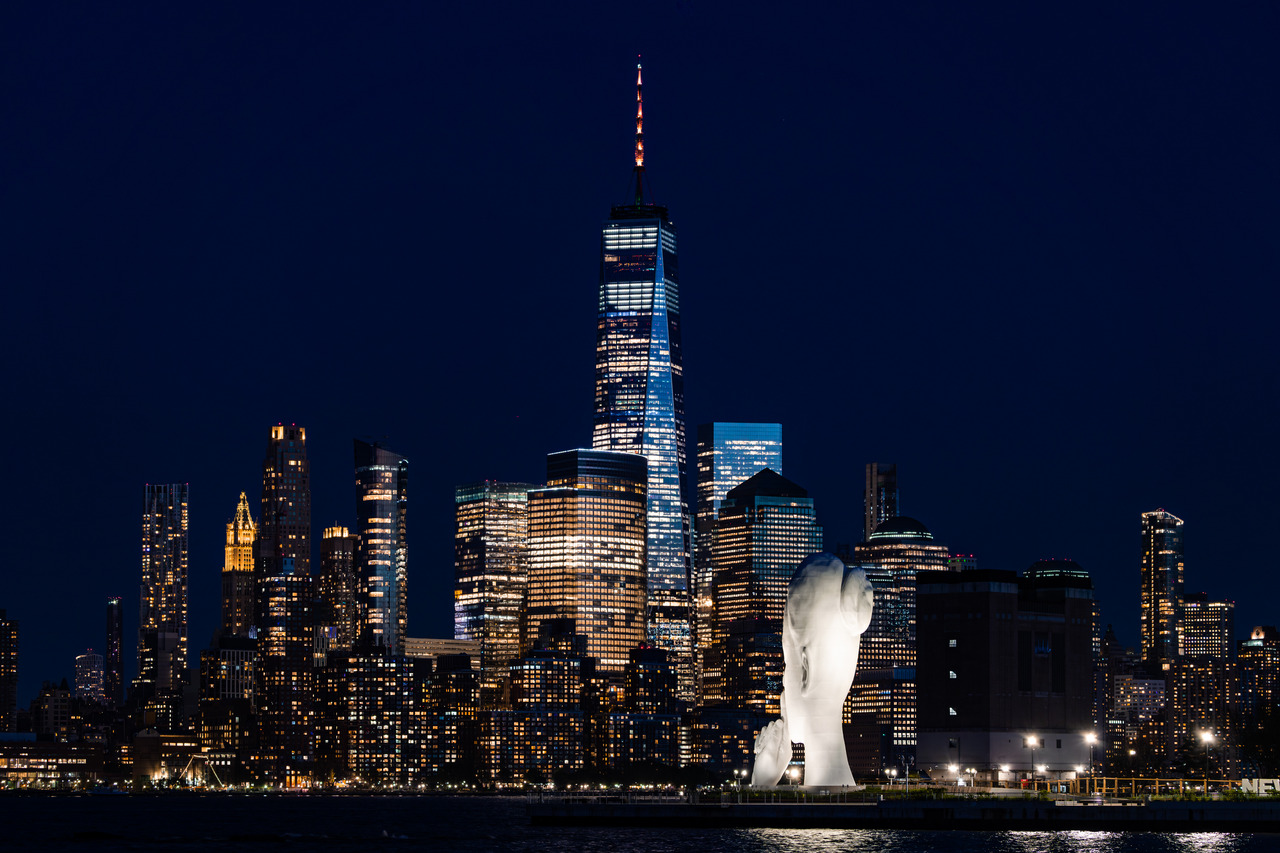
The final step is to consider the composition of your photo, which involves making decisions about how your photo captures and aligns elements within the scene. Architectural photography is a niche that prioritizes alignments and symmetries of elements within the photo frame, just as architects prioritize them when designing buildings. The primary compositional strategies you should consider include:
Framing
- Framing refers to the relationship of different elements within your scene and is directly related to the same concepts used in any other form of visual art.
- Symmetry: Is your space designed to be symmetrical? Aligning your photo to showcase the symmetry can create a powerful composition. Use the guides or gridlines built into your camera to ensure that you’re perfectly aligned with the symmetrical center of the architecture.
- Rule of Thirds: This common artistic principle divides the photo frame into thirds, both horizontally and vertically, resulting in a “3-by-3” grid over the photo. (Most cameras or smartphones have a digital version of this built-in that can be turned on as an overlay guide.) This rule intentionally avoids symmetrical alignments or “centering” your subject in the photo, by aligning the focal point to either the left, right, top or bottom-third of the frame. The intentional asymmetry usually results in a visually pleasing composition despite its simplicity.
Perspective
- The perspective of a photo depends on how the straight lines in the image terminate into invisible “vanishing points” in the distance.
- One-point perspective: A photo where your camera is perfectly aligned to shoot straight at a subject, where the horizontal lines in your image are perfectly level, and the vertical lines are perfectly vertical. Therefore, any other straight lines that lead into the distance should visually terminate at a single vanishing point (usually) at the center of your photo. These photos are “architectural” and “editorial” in the sense that most of the visual elements align with the edges of the photo frame. One-point perspective photos can create visually powerful compositions with minimal information in the scene, and they are often favorited by architects as well as publications.
- Two-point perspective: Usually taken at an angle to one or more walls (for instance, focusing at a corner of a room), and the straight lines leading into the distance visually terminate at two vanishing points (usually to the far left and right of the image). These photos can appear more dynamic and convey a greater sense of depth, though can appear somewhat less “architectural,” as there isn’t as much emphasis on alignment. However, they may offer the best wide-angle view of a project.
Alignment of Verticals
- It is important to ensure that the vertical elements of the architecture in your photo appear as they would to your eye. In most cases, buildings and rooms are constructed in an orthogonal nature, meaning walls are built standing vertically, and ceilings and floors are level and flat. We want the lines of the architecture in the photo to be aligned to match, so the room appears standing upright as we would experience it in real life.
- When tilting a camera up or down (when facing a building or wall), you may notice the vertical architectural lines of your space appear to “lean forward” or “lean back” in what’s known as a “keystone” effect. This is normal, and sometimes can’t be avoided when photographing tall objects (like buildings). If you can, try to avoid tilting your camera up or down, keeping the camera level with the horizon. If that isn’t possible because your subject is too tall, your best recourse is to take the photo with the vertical lines leaning forward or back, and then “straighten” them back to vertical using photo editing software later. Don’t worry—this is common practice.
- The same concept applies to the horizon line—it should be straight and level with the top and bottom edges of your photo.
- One of the best tools in your arsenal to hold your camera steady and level while taking your photos is a tripod. It’s a great investment for any architectural photographer and will serve you well not only for aligning your camera with the architecture but also for taking the sharpest possible photos.
Any list of items that make a great photo is, of course, subjective, but hopefully this one provides insight into my time-tested process and the ways in which experimenting with photography will broaden your understanding of lighting itself. Next month’s issue will include my tips for editing great architectural photos.
The great thing about photography is that it is a creative endeavor like any other art form, so there isn’t one “correct” path to follow. It takes creativity, problem-solving, technical understanding and, as with any other pursuit, practice. Photography is all about sharing the places we’ve been and the things we’ve seen, so get out there and take some photos of your incredible work so we can all be inspired by it!
THE AUTHOR |
Ryan Fischer has been photographing architectural lighting design projects for more than 10 years and is currently a senior lighting designer at Focus Lighting in New York City. His photography work can be found at www.fischerlighting.com.
Photos: Ryan Fischer
