Adapting live presentations for television
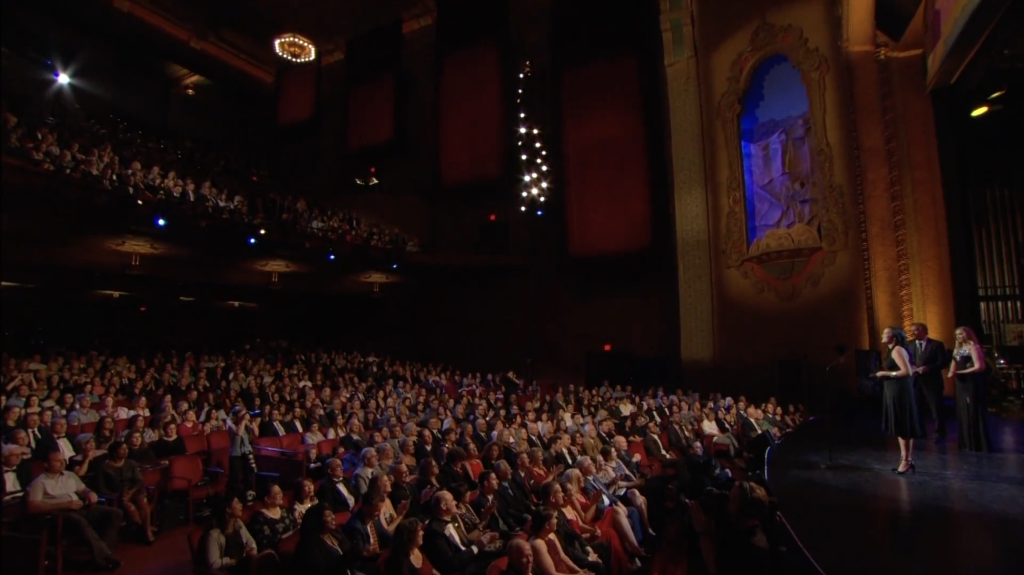
The objectives of lighting design for live stage performances—including theater, concerts, ballets, operas, and corporate meetings that are presented to a live audience—are not so different from the design goals for those same presentations being captured on-camera for broadcast or streaming. The adaptation of live entertainment and events for the camera, often labeled as “live to broadcast,” attempts to deliver the same elements as the stage production to television viewers: mood, drama, atmosphere, a sense of location, time, weather, special effects, and, of course, helping convey the essence of the material—the plot, music, and lyrics or informational content. The lighting may have creative and artistic touches added to enhance the mood, or it might be very straightforward, with the practical goals of visibility and/or to flatter the appearance of speakers and performers. These are common denominators for live and televised productions.
Both productions share many of the same techniques of execution, as well. Basic building blocks of theatrical and television lighting include careful use of angle, color, intensity, and quality of light (e.g., soft versus hard). However, the way each of these factors is used, and the reasons why, is where the two worlds begin to diverge.
Before we discuss how we might adapt, for broadcast or streaming, a presentation with lighting that was originally designed only for the eyes of a live audience, it is important to understand some basics of how the camera “sees,” and thus, what the viewer outside the theater or arena sees on their device. We also must understand one very important element that separates the live point of view from what the TV viewer sees: the close-up camera shot. It is typical that a majority of camera shots for the average TV program are close-ups, where the camera is zoomed in to see one or two faces in the frame. This influences how we make lighting decisions for a televised show, because how things look from that close is quite different from how they appear 10, 50, or 100 ft away.
The eye and the camera are two similar “receiving” mechanisms but of vastly different sensitivities. The human eye is a wonderous contraption that offers something referred to in camera terms as “dynamic range.” This concerns the span of brightness levels that can be processed simultaneously, with quality in the finest details of both the most intense highlights and the darkest shadows. A television camera, on the other hand, has a comparatively narrow dynamic range. The range of brightness-to-darkness levels cameras can process simultaneously is much more compressed.
This same phenomenon happens frequently onstage. A live show’s cuing may have one performer lit brighter than another, on purpose or not, and this may not be apparent to the naked eye. On-camera, however, the imbalance is quite noticeable. A rock concert commonly lights the lead vocalist or a soloist twice or three times as bright as other musicians. If the camera is showing two or more people in the same shot, the engineer may adjust the camera to make the singer appear properly exposed. But as that adjustment happens, the others in the shot become darker and darker.
This means that stage lighting must be balanced to remain within the camera’s dynamic range. This is not to suggest every light must be at the same intensity, but the brightest and dimmest lights need to work within the camera’s capability.
Colors and Angles
The healthy human eye can see many colors, and the world looks natural to us regardless of the color temperature of the source light. Yes, a higher or lower color temperature does look different, but the brain adjusts, so when we see a face lit in a cooler temperature like 5600K to 6300K, we see it as natural, just as we do at 2700K to 3200K. We know the difference, but we accept it as natural if the source is in that range.
The camera can also see color, but for it to see the world in what humans consider natural tones, the camera must be set and adjusted to the color temperature of the source light. If the light is mismatched with the camera settings, things will appear exaggeratedly unnatural. For instance, if the camera is adjusted to “see” at 3200K and the source is a cooler 5600K, the picture will appear quite unnaturally blue. If the camera is set to 5600K and the source is 3200K, the result will shift relatively warm, to almost amber or orange.
This means that many colors that are a normal part of theatrical design may look quite unnatural on-camera, particularly on faces. Unless the production intends to create an effect or a shift in natural perceptions, the inclination to “improve” skin tones by adding tints of warmer or pinker colors will often look exaggerated for the viewers watching on a screen—especially when considering the close-up shot where the viewer may see a face out of context of the rest of the stage.
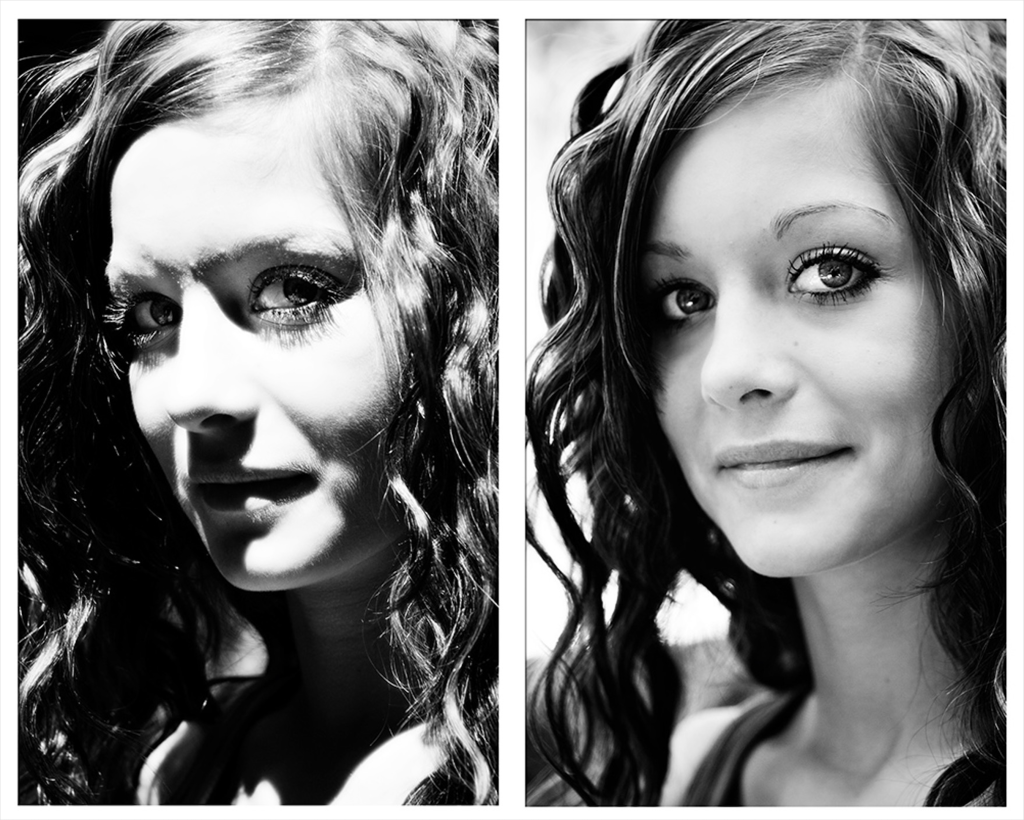
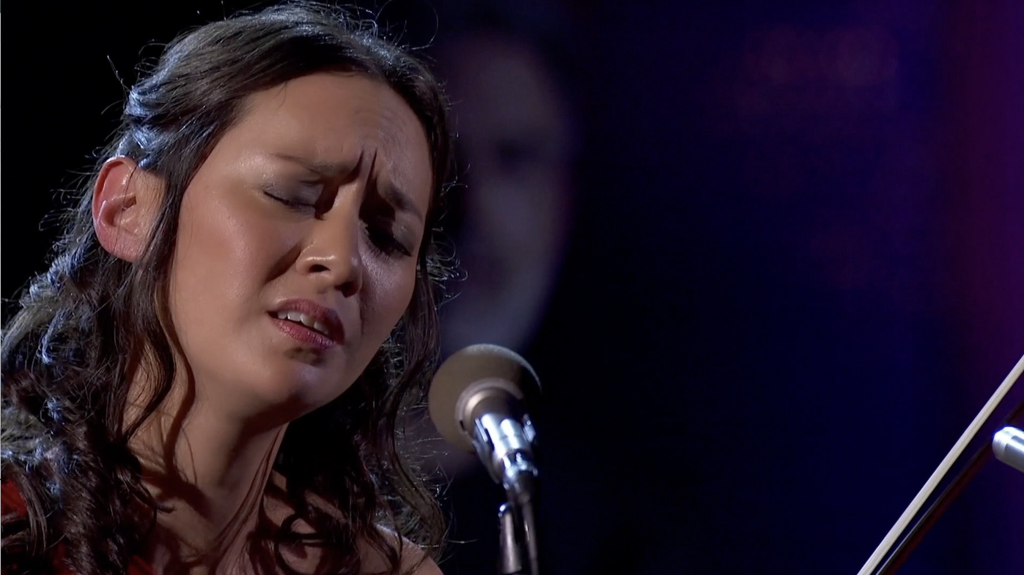
The angle of a light to the stage is not haphazardly or randomly chosen. Lighting designers know the effect of a light’s angle to a surface or object, to sculpt it from the darkness with shape and texture, like an uplight grazing a craggy, brick wall catching edges with highlights and shadows. Standard practice in theatrical lighting is to use steeper angles on faces, which emphasizes facial characteristics so features and expressions are easier to perceive for audience members farther from the stage. However, the television audience is much closer to those performers, and harsh shadows that blend and soften from a distance in the theater can look quite severe and unflattering from such a close point of view. It’s similar to special-effects makeup for the stage. Up close, it appears comically overdone, but from a distance, it merges to create the intended illusion.
For this reason, lighting for the camera embraces lower angles and a careful placement of fixtures to control shadows on the face and backgrounds behind the performers. We don’t “eliminate” shadows. Shadows are important to give shape, dimension, and reference to an object. But to improve the close-up, television designers practice “shadow management” because eye socket and nose shadows, as well as multiple shadows from too many lights on one person, are so much more obvious and potentially distracting when a face fills the screen.
Retaining the Essence
So, how can we apply these principles to the transformation of a stage show for viewing on a screen, where the viewer can see only what the director shows them? Bear in mind, we are discussing multi-camera shoots, where several cameras are placed around the venue to capture different angles simultaneously during a performance that does not stop for retakes or a new camera position. This complicates the television lighting designer’s job because the lighting must be optimized for many different angles and points of view, all at the same time.


It is our intention to retain the essence of the original show, so the outside viewers get the full benefit of the production the live audience sees, plus many bonuses. The TV presentation allows viewers to see things the folks in the venue can’t, like subtle facial expressions, fingers on a keyboard or guitar, or points of view from almost any seat in the house. Putting that aside, how do we proceed?
Let’s start with intensity and balance. We want to retain the dynamics of the original show, with subtle adjustments that keep the brightest and dimmest elements not quite so far apart in intensity. Also, there may be hot spots and uneven areas of intensity that the naked eye might not perceive—but the camera will. Therefore, let’s examine cuing with the goal of creating consistency where it belongs, and brighter and dimmer areas where they are needed—within the range of the camera. We might use an exposure meter to measure intensities, limiting desired brighter areas to be no more than double the “base” areas and shadowy areas to no less than half the base intensity. For a special moment that requires ten lights, at full, on one person, this will overexpose to the point of being unusable on-camera unless it’s just a quick moment for effect. Sometimes, reducing intensity will still retain the look of the effect without blowing out the camera. If you don’t have an exposure meter, get a working camera and monitor to use during cue adjustment, making sure the settings of the camera are matched to the engineer’s settings to be used for the shoot.
Also, look carefully at backgrounds, which are often treated with less deliberate light in a stage production because they get so much bounce and ambience. It is often necessary to devote some lighting resources to add more light to backgrounds and scenery. On the other hand, sometimes the backgrounds are too bright in relation to the foreground, and this will be more apparent on-camera.
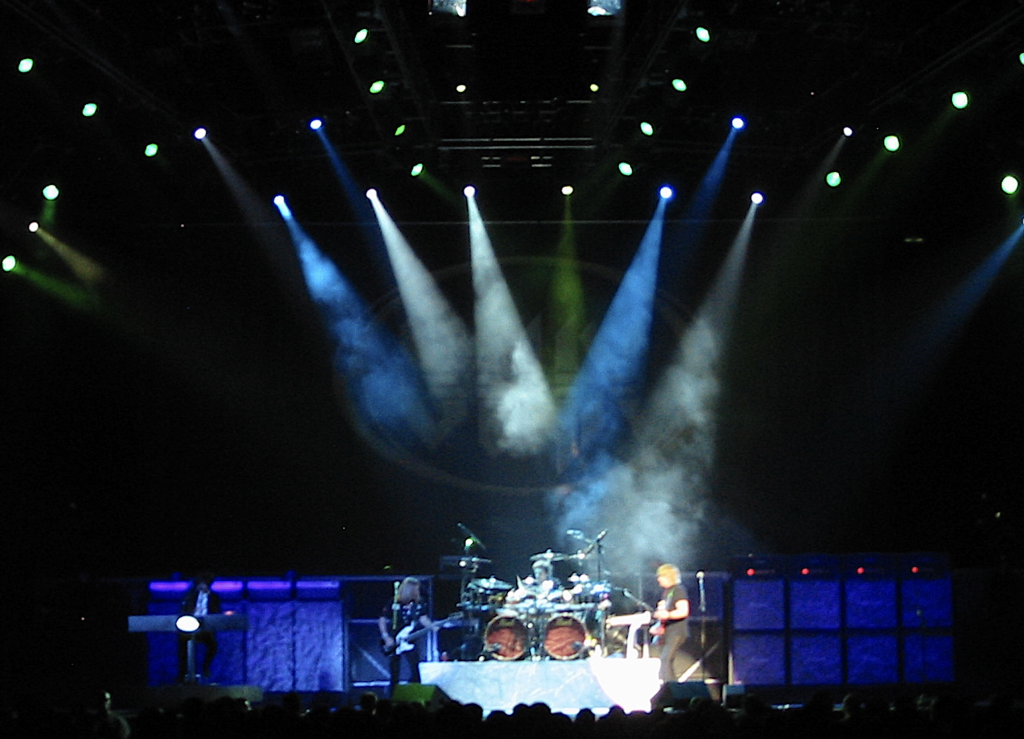
For a rock concert that typically has very bright sources and uneven focuses, the variations from one player to another need to be carefully measured to avoid huge imbalances on-camera. Also, the lights that often flash out into the audience, and therefore directly into the camera lens, may need to be lowered in intensity or the camera will not be able to process the color, resulting in lights that appear “nuclear” white or totally distorted. With a little tweaking, those lights can look terrific on-camera, and will appear closer to how the audience experiences them.
Next, colors should be examined to ensure that the primary lighting of faces matches the camera settings. (This includes a discussion with the show’s video engineer, whose proper title is video controller, or the slang title, shader.) If the show is lit with incandescent sources or fixtures tuned as such, setting the camera to 3200K makes sense. Other sources may prompt different camera settings, but mixing color temperatures like follow spots, moving lights with different lamp types, or even LEDs mixed in with tungsten fixtures can create a noticeable patchwork of unintended color oncamera. Thus, it’s important to evaluate these elements and establish consistency where needed. A color temperature meter assures greater accuracy.
When the live show lighting on faces is gelled or tuned with even slight tints of blue, pink, or amber, a major confab with both the TV show’s and the live production’s directors and producers is vitally important. Those color shifts will appear more exaggerated on-camera and, in close-up shots, may not convey the same message as they do for the stage version. Of course, there are moments when color on faces can be impactful, so choose those moments wisely. Be sure to consider creating color statements with backlight, side light, scenery color, and ambient stage washes.
The angle of the lighting may or may not be very adjustable when an entire show has been designed using the lighting positions available in a specific venue that is now being used for the TV shoot. But bear in mind a few thoughts:
- If an entire show has been designed, by choice or necessity, with extremely steep light, there may be an option to add some subtle fill light from a lower front position or even from side positions to fill in facial shadows.
- Sometimes follow spots are placed very steeply in a theater, perhaps on a catwalk. If possible, see if the spots can be moved back to be at a better angle. If you can’t move the spots farther from the stage, use two widely-spaced spots instead of one center, steep spot.
- Examining lighting angles is where shadow management to reduce harsh eye-socket and nose shadows comes into play. When lighting positions are steep, lowering the intensity of overhead lighting, and filling in with side lighting, can improve the situation.
I previously mentioned soft versus hard light. We often see photos of film shoots using large lights on stands with enormous diffusers to create very soft light that makes people look great on-camera with almost no shadows. This is possible on a film set where the camera is a few feet away from the scene and the light can be placed next to the camera. For a live production, the camera is much farther away, and a light on a stand cannot sit onstage in front of the performer. Also, soft lights are short-throw fixtures. Theatrical lighting is largely handled by long-throw instruments that, by their nature and physics, are hard sources that create hard shadows; this includes fresnels. And diffusion gel on a hard-edged light only softens the edge of the beam. It does not soften shadows.
Finally, there is the question of aesthetics. The camera often creates unanticipated backgrounds behind the action, like when a camera on the far end of the stage sees the wings in the distance past the performers. Those offstage areas may need some additional lighting treatment to avoid looking dark.
A great deal of this discussion is based on hard science and electronics, but there is an element of individual taste and reality involved. What works for the creative needs of one show might be wrong for another. Liberties can be taken to suit the artistic intentions of the production and/or budget, time, and logistics. Additionally, cameras differ in quality and sensitivity. The science can be stretched as can the aesthetic approach.
Until you have experienced lighting for the camera, this is all theory. So much of it is about training your eye to see in a new way. In practice (which makes perfect), the choices become infinite.
THE AUTHOR |
Jeff Ravitz is an Emmy Award-winning lighting designer, lecturer, and writer. His book, Lighting for Televised Live Events demystifies the art and science of lighting live presentations for the camera.
